Protocol: IB Zones (Loft, Core, Cellar)

Market Profile • 2026-01-26
IB Zones (Loft, Core, Cellar)
Treating the Initial Balance (IB) as one big block is a mistake. On a volatile day, that range can be huge. If you treat every level inside the IB the same, you’ll take trades with bad location and get chopped.
A simple fix: split the IB into three equal zones. Think of it like a three-story house. It doesn’t predict the day — it tells you where you’re standing.
🏢
The Zones (Three-Story Structure)
-
Loft (Upper Third) “Expensive” area of the range. Great location to fade/sell. Risky place to buy late.
-
Core (Middle Third) Fair value. Center of gravity. Expect noise, back-and-forth, and fakeouts.
-
Cellar (Lower Third) “Cheap” area of the range. Great location to fade/buy. Risky place to sell late.
Where you’ll see this in VolMike (Terminal + Library)
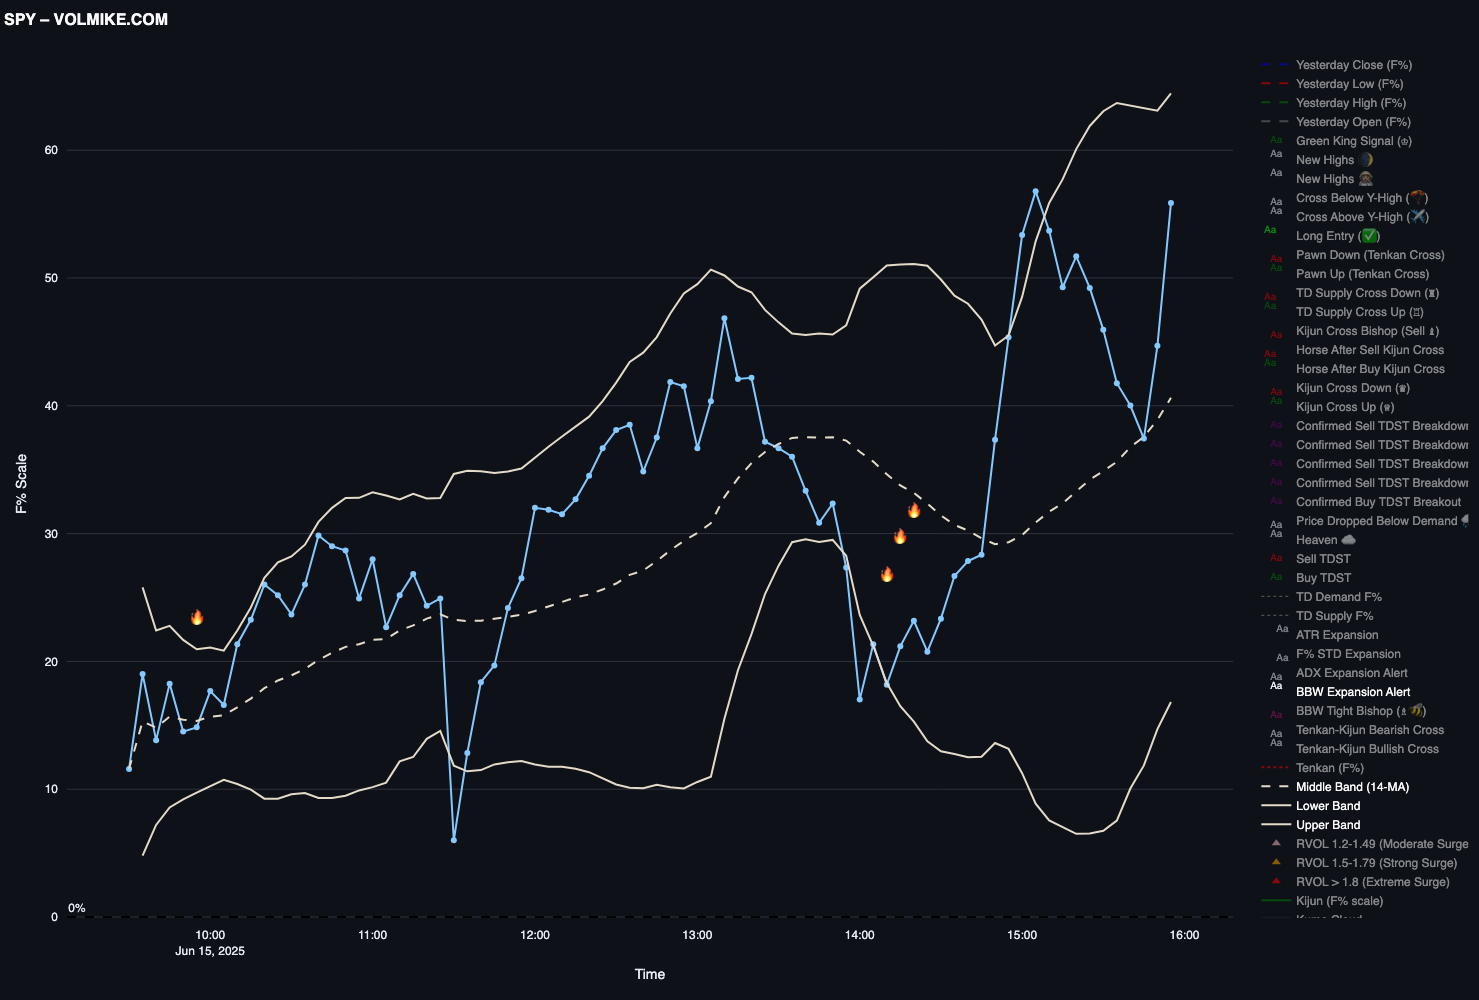
In Terminal, the IB shows as two strong lines (IB High / IB Low) and two thin dashed dividers inside the range (Cellar–Core and Core–Loft). Those dashed dividers are the point: they tell you instantly whether an Entry signal is happening at good location (fade) or bad location (chase).
- Terminal (live execution): Open Terminal
- Library (replay & training): Open Library
The Edge Fade (Best Location)
This is where the zones pay for themselves.
When Mike is at the edge of the house and you get a reversal signal, you’re getting the best location you’ll see all day.
- Shorting the Loft: Loft + short/put signal → selling the top of the range.
- Buying the Cellar: Cellar + long/call signal → buying the floor.
Plain English: you’re fading back toward Core instead of chasing the edge.
The Chase Trap (Worst Location)
The danger is taking a continuation signal at the edge.
- Calls in the Loft = buying “already expensive.”
- Puts in the Cellar = selling “already cheap.”
That’s not breakout trading. That’s paying the worst price before you have confirmation.
Calls in the Loft (what to do instead)
If Mike is in the Loft and you get a long/call signal, pause.
Wait for two things:
- Range Extension Up (IB High breaks)
- Horse confirmation (fuel shows up)
No fuel? It’s often just a probe that snaps back into the range.
Puts in the Cellar (what to do instead)
If Mike is in the Cellar and you get a short/put signal, pause.
Wait for:
- Range Extension Down (IB Low breaks)
- Horse confirmation
No fuel? Same story: it often mean-reverts back toward Core.
The 10-Second Decision Test
Before you take a trade near the edges:
- Where are we? Loft, Core, or Cellar?
- Am I fading or chasing?
- Fade back toward Core (short Loft / buy Cellar) → good location.
- Chase outward (buy Loft / short Cellar) → wait.
- If chasing: don’t guess. Wait for Range Extension + Horse.
FAQ (Quick Answers)
What is the Initial Balance (IB)?
The Initial Balance is the first defined range of the session (your “early day box”). It becomes the reference for location: are we trading near the top, middle, or bottom of that early range?
How do you calculate Loft, Core, and Cellar?
Split the IB into three equal parts:
- Cellar = lower third of the IB
- Core = middle third
- Loft = upper third
If IB High is H and IB Low is L, then:
Range = H - LCut 1 = L + Range/3(Cellar → Core boundary)Cut 2 = L + 2*Range/3(Core → Loft boundary)
What is Range Extension?
Range Extension is when the market breaks out of the IB:
- RE Up = breaks above IB High
- RE Down = breaks below IB Low
Use it as confirmation when you’re about to chase at the edge. No Range Extension + no fuel usually means the move can snap back into the Core.
This is a VolMike location rule built on top of the IB framework.