The Yellow Bishop: Calm Before the Storm
Bands squeeze tight. Mike trapped in a 20F range. Volume dies.
Yellow Bishop appears.
What does it mean?
Depends.
🟡 The Yellow Bishop (The Squeeze)
Yellow Bishop fires when Bollinger Bands compress:
Requirements:
- BBW in lowest 10th percentile (tightest bands)
- Present for 3+ bars in last 5
- Always yellow (kingdom-independent)
Translation: Squeeze active. Trap zone or breakout brewing.
The Yellow Bishop has two faces:
Face 1: The Trap (Don't Trade)
- At extremes with opposing Midas
- Mike stalling, no Knights
- Reversal incoming
Face 2: The Coiled Spring (Get Ready)
- After 6+ bars consolidation
- Energy building
- Breakout imminent, juicy profits
Let me show you both.
🚫 Face 1: The Reversal Trap
Setup:
Mike at a top. Midas Bear overhead. Yellow Bishop appears.
What this signals:
Reversal incoming. Don't buy calls. Watch for the drop.
Example: Top Reversal with Yellow Bishop
Session:
- Mike climbs from +50F → +180F
- Clean trend for 90 minutes
- Mike at +180F (near session high)
Then:
- Midas Bear anchored at +185F (resistance)
- Mike stalls at +178F - +182F (narrow range)
- Bands squeeze
- Yellow Bishop fires 🟡
- No Knights (RVOL < 1.0, volume dying)
Translation:
- Mike at top (exhausted)
- Midas Bear overhead (resistance)
- Compression (no energy)
- No volume (no conviction)
This is a trap.
Don't buy calls. Reversal coming.
What happens next:
- Mike drops to +160F within 10 bars
- Entry 1 PUT fires (Drizzle)
- Reversal confirmed
Yellow Bishop warned you.
Bottom Reversal (Inverse):
Setup:
- Mike drops to +40F (near session low)
- Midas Bull below at +35F (support)
- Mike stalls at +38F - +42F (narrow range)
- Bands squeeze
- Yellow Bishop fires 🟡
- No Knights (volume dying)
Translation: Reversal up incoming. Don't buy puts.
The warning signs (reversal trap):
- Yellow Bishop at extreme (top or bottom) ✅
- Opposing Midas nearby (Bear at top, Bull at bottom) ✅
- Mike stalling (narrow range, 10F-20F) ✅
- No Knights (RVOL < 1.0, volume dead) ✅
All four present = reversal trap. Don't trade the current direction.
🌪️ Face 2: The Coiled Spring (Breakout Setup)
Setup:
Mike consolidating for 6+ bars. Yellow Bishop appears.
What this signals:
Breakout imminent. Get ready. Juicy profits coming.
Example: Breakout After Compression
Session:
- Mike at +100F (mid-range)
- Consolidates +95F - +105F for 8 bars (40 minutes)
- Bands squeeze tight
- Yellow Bishop fires 🟡 (present for 6 bars)
What's happening:
Energy building. Compression = coiled spring.
The longer the squeeze, the bigger the move.
Suddenly:
- Mike breaks above +105F
- Green Rook appears (TD Supply broken)
- Knights arrive (RVOL 1.4)
- Green Bishop replaces Yellow Bishop (bands expanding)
- Entry 1 CALL fires
Result:
- Mike explodes from +105F → +180F
- T1 hit at +175F
- +70F move in 30 minutes
Compression released. Spring uncoiled.
The setup (coiled spring):
- Yellow Bishop present for 6+ bars (long squeeze) ✅
- Mike in mid-range (not at extremes) ✅
- Structure nearby (TD line, IB level) ✅
- Waiting for breakout (don't trade during squeeze) ✅
All present = coiled spring. Wait for break, then enter aggressively.
🎯 How to Tell the Difference
Yellow Bishop appears. Which face is it?
Reversal Trap (Don't Trade):
Check:
- Mike at extreme (top or bottom)? ✅
- Opposing Midas nearby (Bear at top, Bull at bottom)? ✅
- Mike stalling (narrow range)? ✅
- No Knights (volume dead)? ✅
If all yes → Reversal trap. Don't trade current direction.
Coiled Spring (Get Ready):
Check:
- Yellow Bishop present 6+ bars? ✅
- Mike in mid-range (not at extremes)? ✅
- Consolidation pattern (not trending)? ✅
- Structure nearby (TD line, IB level)? ✅
If all yes → Coiled spring. Wait for break, then enter.
Different contexts. Different actions.
🔥 Real Examples
COIN - Top Reversal with Yellow Bishop:
14:00 PM:
- Mike at +600F (near session high)
- Midas Bear at +610F (resistance overhead)
- Mike stalls +595F - +605F for 5 bars
- Yellow Bishop fires 🟡
- No Knights (RVOL 0.8)
Translation: Top exhaustion. Reversal incoming.
14:20 PM:
- Mike drops to +570F
- Entry 1 PUT fires
- Reversal confirmed
Yellow Bishop warned: don't buy calls at the top.
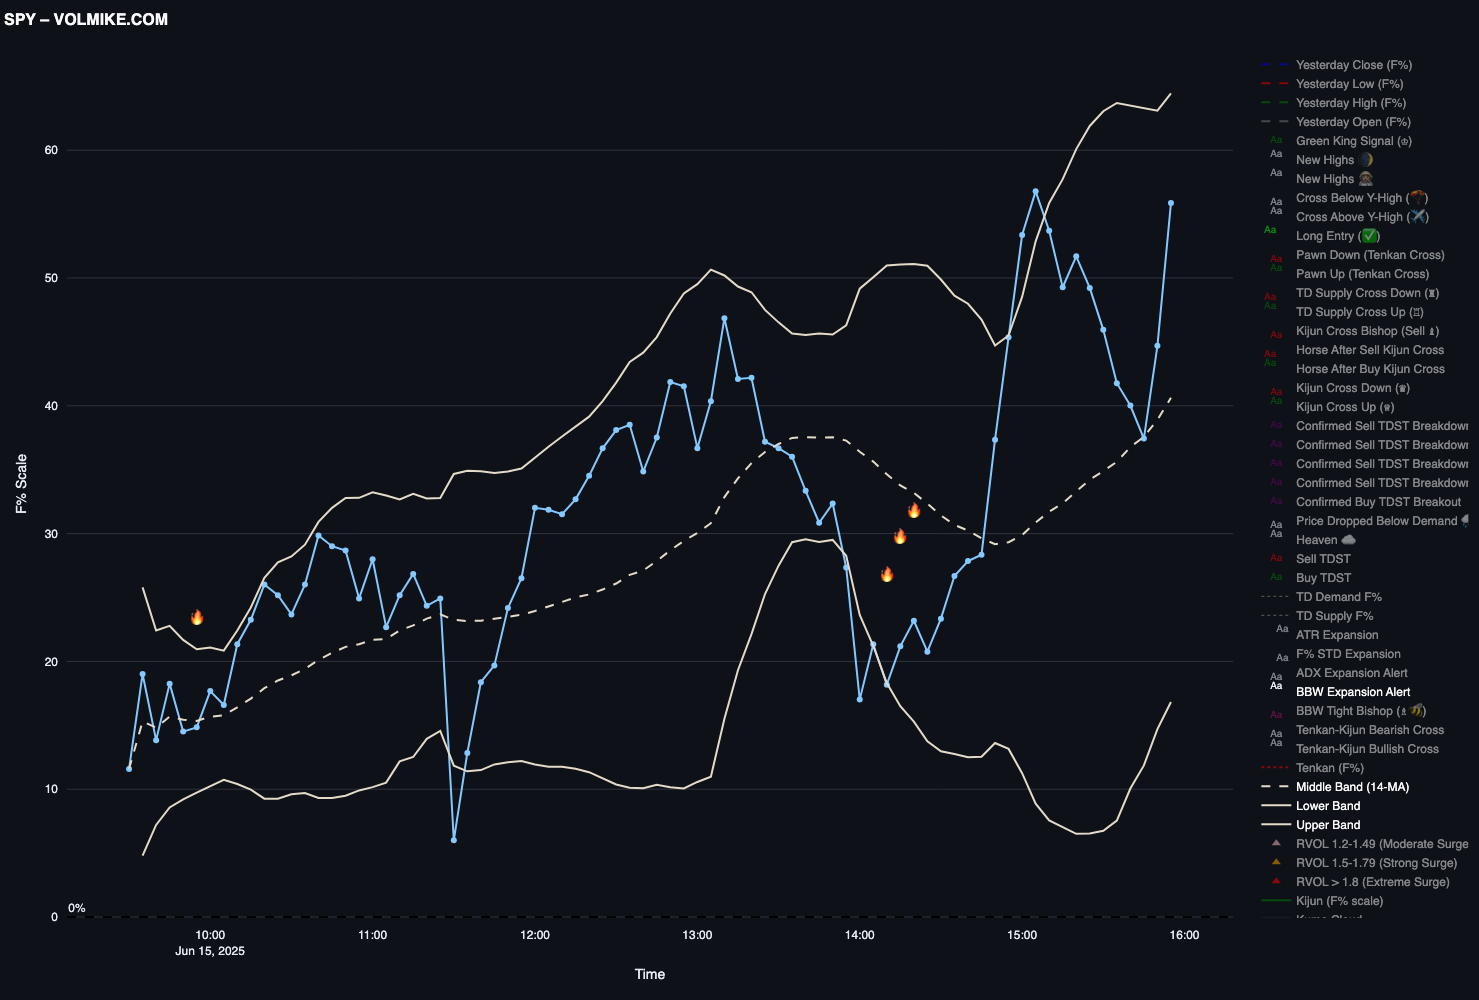
SPY - Coiled Spring Breakout:
10:30 AM:
- Mike consolidates +80F - +90F for 9 bars (45 minutes)
- Yellow Bishop present for 7 bars 🟡
- Bands squeezed tight
10:55 AM:
- Mike breaks above +90F
- Green Rook (TD Supply broken)
- Knights arrive (RVOL 1.5)
- Green Bishop replaces Yellow
- Entry 1 CALL fires
Result:
- Mike explodes +90F → +150F
- T1 hit at +145F
- +55F move in 20 minutes
Compression = coiled spring. Release = explosive.
⚠️ The Longer the Squeeze, The Bigger the Move
This is the key insight:
Compression duration = energy building.
Short squeeze (3-4 bars):
- Some energy
- Breakout might move +20F-30F
- Modest
Medium squeeze (5-7 bars):
- Good energy
- Breakout might move +40F-60F
- Solid
Long squeeze (8+ bars):
- Massive energy
- Breakout might move +70F-100F+
- Juicy profits
The longer Mike is trapped, the harder it wants to break free.
Coiled spring = potential energy.
🚨 Don't Trade During the Squeeze
Critical rule:
Yellow Bishop present = don't trade.
Wait for:
- Yellow Bishop disappears
- Green/Red Bishop appears (expansion starts)
- Knights arrive (volume)
- Entry fires
Then enter.
Why not trade during squeeze?
No room. Bands tight. Mike trapped.
Entries during squeeze = whipsawed.
Wait for the breakout.
The Trap:
Trader sees Yellow Bishop:
"Consolidation! I'll buy the dip!"
Enters at +95F during squeeze.
What happens:
- Mike chops +92F → +98F → +94F → +99F
- Whipsaw for 30 minutes
- Stopped out at -5F loss
Then Yellow Bishop disappears:
- Mike breaks to +150F
- Trader not in (already stopped out)
The right way:
See Yellow Bishop:
"Squeeze active. Don't trade yet. Wait."
Yellow Bishop disappears:
- Green Bishop appears
- Entry 1 fires
- Enter at +105F
Result:
- Ride +105F → +150F
- +45F profit
Patience during compression = profits on expansion.
🔄 The Squeeze → Expansion Cycle
Markets breathe:
Phase 1: Expansion (Green/Red Bishop)
- Bands open
- Mike trending
- Room to move
- Trade actively
Phase 2: Exhaustion (Purple Bishop)
- STD spikes 2x
- Climax move
- Exit signal
Phase 3: Compression (Yellow Bishop)
- Bands squeeze
- Mike consolidates
- Energy building
- Don't trade, wait
Phase 4: Breakout (Green/Red Bishop returns)
- Bands expand
- Mike breaks structure
- Knights arrive
- Enter aggressively
Back to Phase 1.
The Yellow Bishop marks Phase 3:
Compression. Coiled spring. Get ready.
🧠 Yellow Bishop + Midas (The Reversal Signal)
At extremes, Yellow Bishop + opposing Midas = reversal setup:
At Tops (Reversal Down):
Check:
- Mike at session high (or near)
- Midas Bear overhead (resistance)
- Yellow Bishop (compression)
- No Knights (volume dying)
- Mike stalling
Translation: Top exhausted. Bears taking over. Reversal down.
Action: Don't buy calls. Watch for PUT Entry 1.
At Bottoms (Reversal Up):
Check:
- Mike at session low (or near)
- Midas Bull below (support)
- Yellow Bishop (compression)
- No Knights (volume dying)
- Mike stalling
Translation: Bottom exhausted. Bulls taking over. Reversal up.
Action: Don't buy puts. Watch for CALL Entry 1.
The Midas + Yellow Bishop combo = opposing force building.
🎭 When Yellow Bishop is Lying
Yellow Bishop can appear during trending:
Scenario:
- Mike trending +50F → +150F
- Brief consolidation at +120F (3 bars)
- Yellow Bishop fires
- Mike resumes trend to +180F
Translation: Pause, not reversal. Not coiled spring (too short).
How to tell:
Real squeeze (coiled spring):
- 6+ bars consolidation
- Mid-range (not extreme)
- Structure nearby
Brief pause (ignore):
- 3-4 bars consolidation
- During trend
- Resumes quickly
The fix:
Only trust Yellow Bishop when:
- Present for 6+ bars (long squeeze)
- OR at extremes with opposing Midas (reversal)
Brief Yellow Bishop during trend = ignore.
🔱 The Bishop Trinity (Complete Picture)
Yellow Bishop (Compression)
├─ Bands squeezed (lowest 10th percentile)
├─ Two faces:
│   ├─ Reversal trap (at extremes + opposing Midas)
│   └─ Coiled spring (6+ bars mid-range)
└─ Action: Don't trade, wait for expansion

Green/Red Bishop (Expansion)
├─ Bands opening (room to move)
├─ Safe to trade
└─ Action: Confirm entries

Purple Bishop (Extreme)
├─ STD doubled (2x expansion)
├─ Climax/exhaustion
└─ Action: Exit signal
The cycle:
- Yellow (squeeze)
- Green/Red (expansion)
- Purple (climax)
- Back to Yellow (consolidation)
❓ Questions
"Should I enter during Yellow Bishop if I see other signals?"
No.
Yellow Bishop = no room. Bands squeezed.
Even if:
- Entry 1 fires
- Knights present
- Structure looks good
If Yellow Bishop is present → bands too tight. Pass or scout very small.
Wait for Green/Red Bishop (expansion starts).
"What if Yellow Bishop stays for 20+ bars?"
Then massive energy building.
The longer the squeeze, the bigger the eventual move.
20+ bar squeeze = explosive breakout coming.
Be patient. Wait for the break. Then enter aggressively.
"Can Yellow Bishop predict direction?"
At extremes with opposing Midas: yes (reversal).
At tops with Midas Bear → reversal down. At bottoms with Midas Bull → reversal up.
In mid-range: no (direction unknown).
Just wait for the break. Let Entry 1 tell you direction.
"What if Mike breaks during Yellow Bishop but no Knights?"
Fakeout likely.
Breakout without volume (Knights) + during compression = weak.
Wait for:
- Knights arrive (RVOL >= 1.2)
- Green/Red Bishop appears (bands expanding)
Then enter.
"How tight is 'lowest 10th percentile'?"
Very tight.
BBW is in the bottom 10% of last 60+ bars.
These are the tightest bands of the recent session.
When you see Yellow Bishop, bands are SQUEEZED.
🚀 See It Live
What to look for:
- Yellow Bishop (🟡) during consolidation
- At tops/bottoms: Check for opposing Midas (reversal setup)
- In mid-range: Count bars (6+ = coiled spring)
- Wait for Yellow to disappear (Green/Red Bishop appears)
- Enter on the breakout (Entry 1 fires with Knights)
Watch the patience pay off.
🎯 The Bottom Line
Yellow Bishop = squeeze warning.
Two faces:
Face 1: Reversal Trap
At extremes + opposing Midas + no Knights:
- Don't trade current direction
- Watch for reversal
Face 2: Coiled Spring
6+ bars mid-range consolidation:
- Get ready
- Breakout imminent
- Juicy profits when it breaks
The longer the squeeze, the bigger the move.
Compression = potential energy.
Don't trade during the squeeze.
Wait for:
- Yellow Bishop disappears
- Green/Red Bishop appears
- Knights arrive
- Entry fires
Then enter aggressively.
Calm before the storm.
Share this:
Next: The Cape (Z3) - Momentum armor. Z3 >= ±1.2 = engine ON. Uses STD to normalize momentum. Critical at Reclaim (🧿) and Entry 2/Entry 3 confirmation.